A Beginner's Guide to Building Your Own PC: Step-by-Step Configuration Tips
Building your own PC can seem like a daunting task, especially if you're new to the world of custom computing. However, with the right guidance and preparation, it can be an incredibly rewarding and empowering experience. In this comprehensive guide, we'll walk you through the step-by-step process of configuring and assembling your very own custom PC. By the end of this guide, you'll have the knowledge and confidence to build a PC that meets your needs and preferences.

Choosing the Right Components
The first and most crucial step in building a PC is selecting the right components. Your PC's performance and capabilities will largely depend on the quality and compatibility of the parts you choose. Here’s a breakdown of the essential components and what to consider for each:
1. Central Processing Unit (CPU)
The CPU is the brain of your computer. It handles all the processing tasks and directly impacts your system’s performance. When choosing a CPU, consider the following:
Brand: The two main CPU manufacturers are Intel and AMD. Both offer a range of processors catering to different needs and budgets.
Performance Needs: For general use, a mid-range CPU like the Intel Core i5 or AMD Ryzen 5 is sufficient. For gaming or intensive tasks like video editing, consider higher-end models like the Intel Core i7/i9 or AMD Ryzen 7/9.
Compatibility: Ensure the CPU is compatible with your chosen motherboard. Check the socket type and chipset.
2. Motherboard
The motherboard is the backbone of your PC, connecting all the components. Consider the following when choosing a motherboard:
Form Factor: Common form factors include ATX, Micro-ATX, and Mini-ITX. Choose one that fits your case and meets your expansion needs.
Socket and Chipset: Make sure the motherboard supports your CPU's socket type and chipset.
Features: Look for features like the number of RAM slots, PCIe slots, USB ports, and support for NVMe SSDs.
3. Random Access Memory (RAM)
RAM is crucial for multitasking and overall system performance. Here’s what to consider:
Capacity: For general use and gaming, 16GB is the sweet spot. For more demanding applications, 32GB or more might be necessary.
Speed: Higher RAM speeds can improve performance. Look for DDR4 or DDR5 RAM with speeds of at least 3200MHz.
Compatibility: Ensure the RAM is compatible with your motherboard and CPU.
4. Storage
Your choice of storage will affect your system’s speed and capacity. Consider the following:
Solid State Drive (SSD): SSDs offer faster read/write speeds than traditional hard drives (HDDs). NVMe SSDs are even faster than SATA SSDs.
Hard Disk Drive (HDD): HDDs provide larger storage capacities at a lower cost. They’re ideal for storing large files.
Capacity: For the operating system and essential programs, a 500GB SSD is a good starting point. Add an HDD for additional storage if needed.
5. Graphics Card (GPU)
The GPU is essential for gaming, video editing, and other graphics-intensive tasks. Consider the following:
Performance Needs: For gaming, mid-range GPUs like the NVIDIA GeForce GTX 1660 or AMD Radeon RX 5600 are sufficient. For higher performance, consider models like the NVIDIA RTX 3060/3070 or AMD RX 6700/6800.
Compatibility: Ensure your chosen GPU fits in your case and is compatible with your motherboard.
6. Power Supply Unit (PSU)
The PSU provides power to all components. Consider the following:
Wattage: Ensure the PSU provides enough wattage for your components. Use an online PSU calculator to estimate your needs.
Efficiency: Look for an 80 Plus certified PSU for better efficiency and reliability.
Modularity: Modular PSUs allow you to connect only the cables you need, reducing clutter and improving airflow.
7. Case
The case houses all your components and affects cooling and aesthetics. Consider the following:
Form Factor: Ensure the case fits your motherboard’s form factor.
Cooling: Look for good airflow and support for multiple fans or liquid cooling.
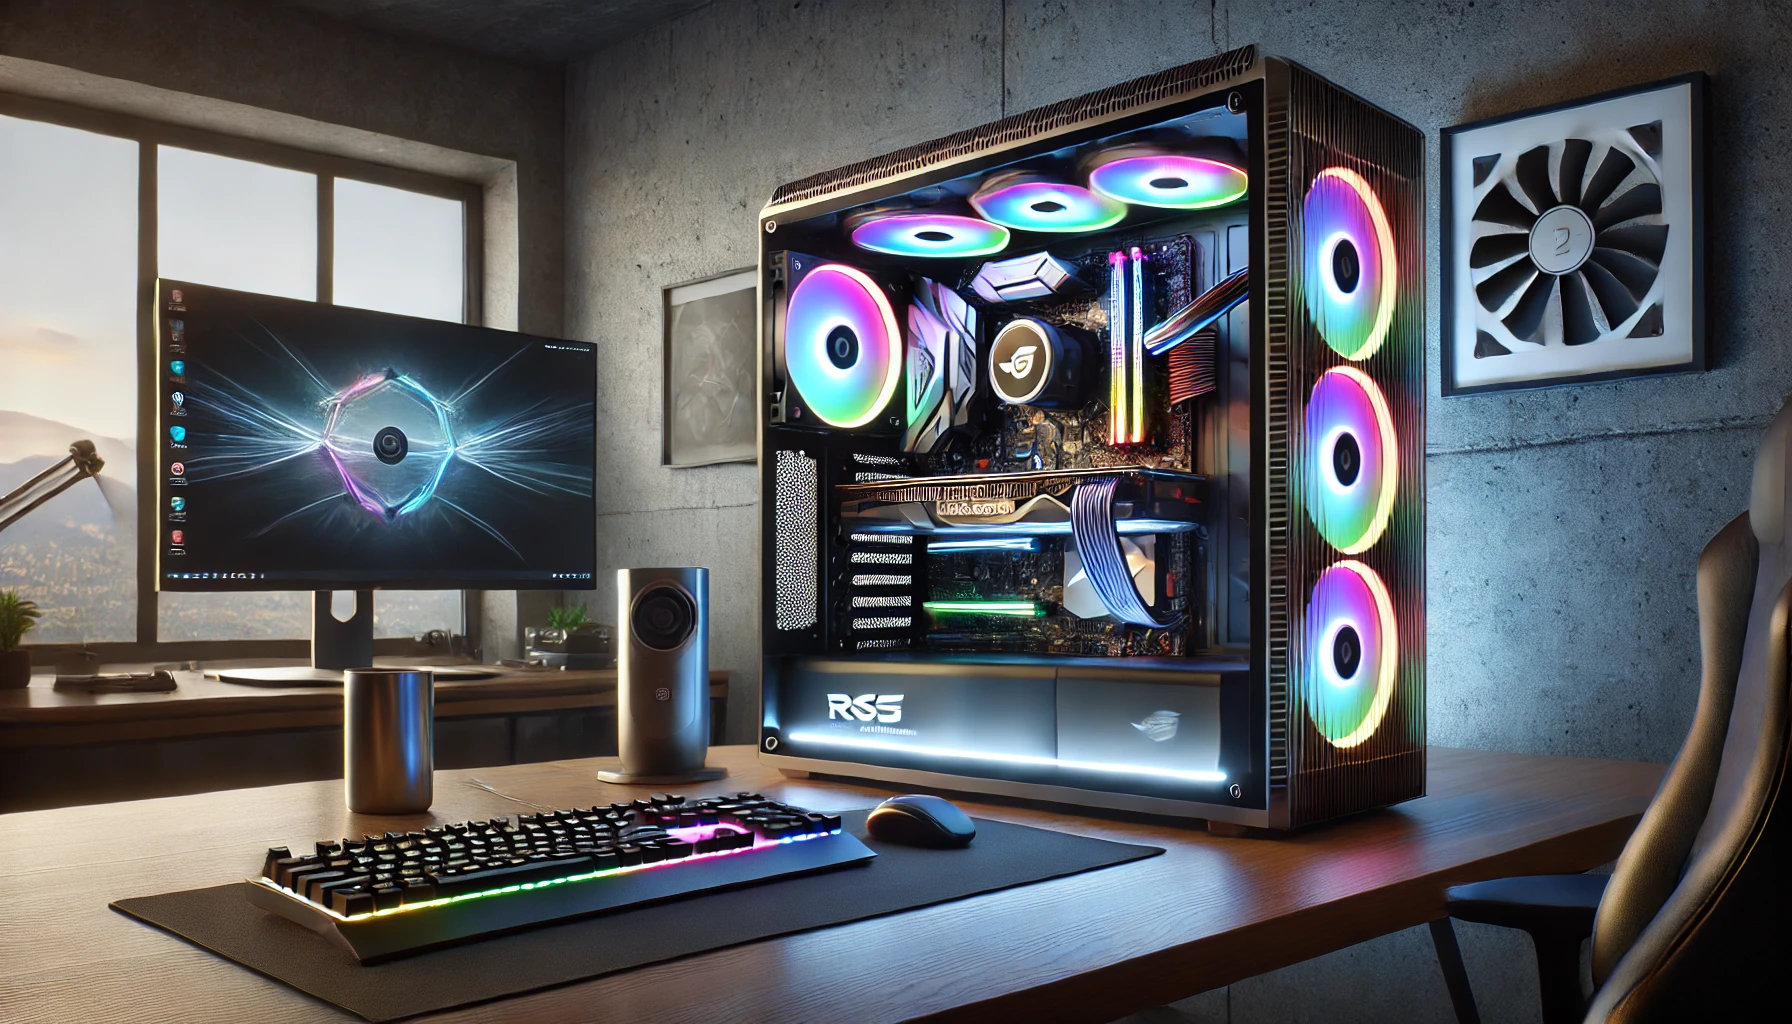
Aesthetics: Choose a case that fits your style and offers features like tempered glass panels or RGB lighting.
Preparing the Workspace
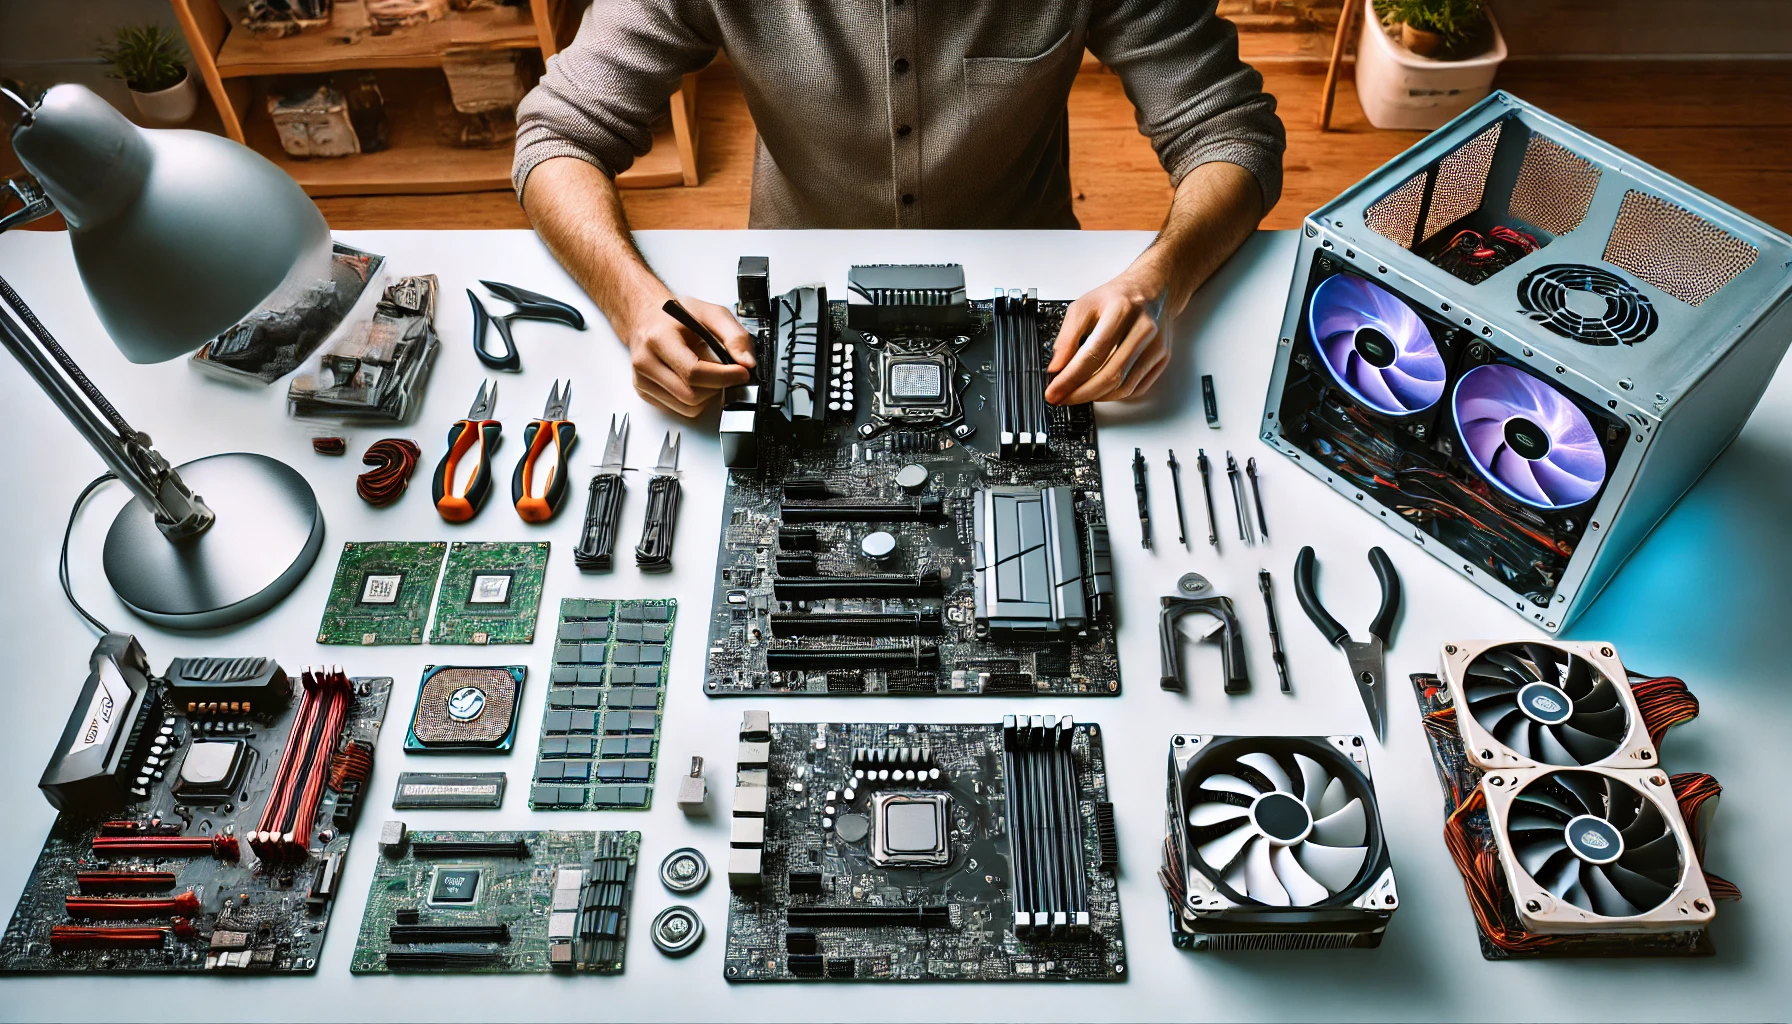
Before diving into the assembly process, it’s crucial to set up a proper workspace. This will help you stay organized and avoid damaging any components.
1. Clean, Well-Lit Area
Choose a spacious, clean, and well-lit area to work in. A large table or desk is ideal. Ensure that the surface is free of any static-inducing materials like carpets or rugs, as static electricity can damage sensitive components.
2. Gather Necessary Tools
Having the right tools on hand will make the assembly process smoother. Here’s a list of essential tools:
Screwdriver Set: A set of Phillips head screwdrivers of various sizes.
Anti-Static Wrist Strap: To prevent static electricity from damaging components.
Cable Ties: To manage and organize cables.
Thermal Paste: If your CPU cooler doesn’t come with pre-applied thermal paste.
3. Organize Components and Tools
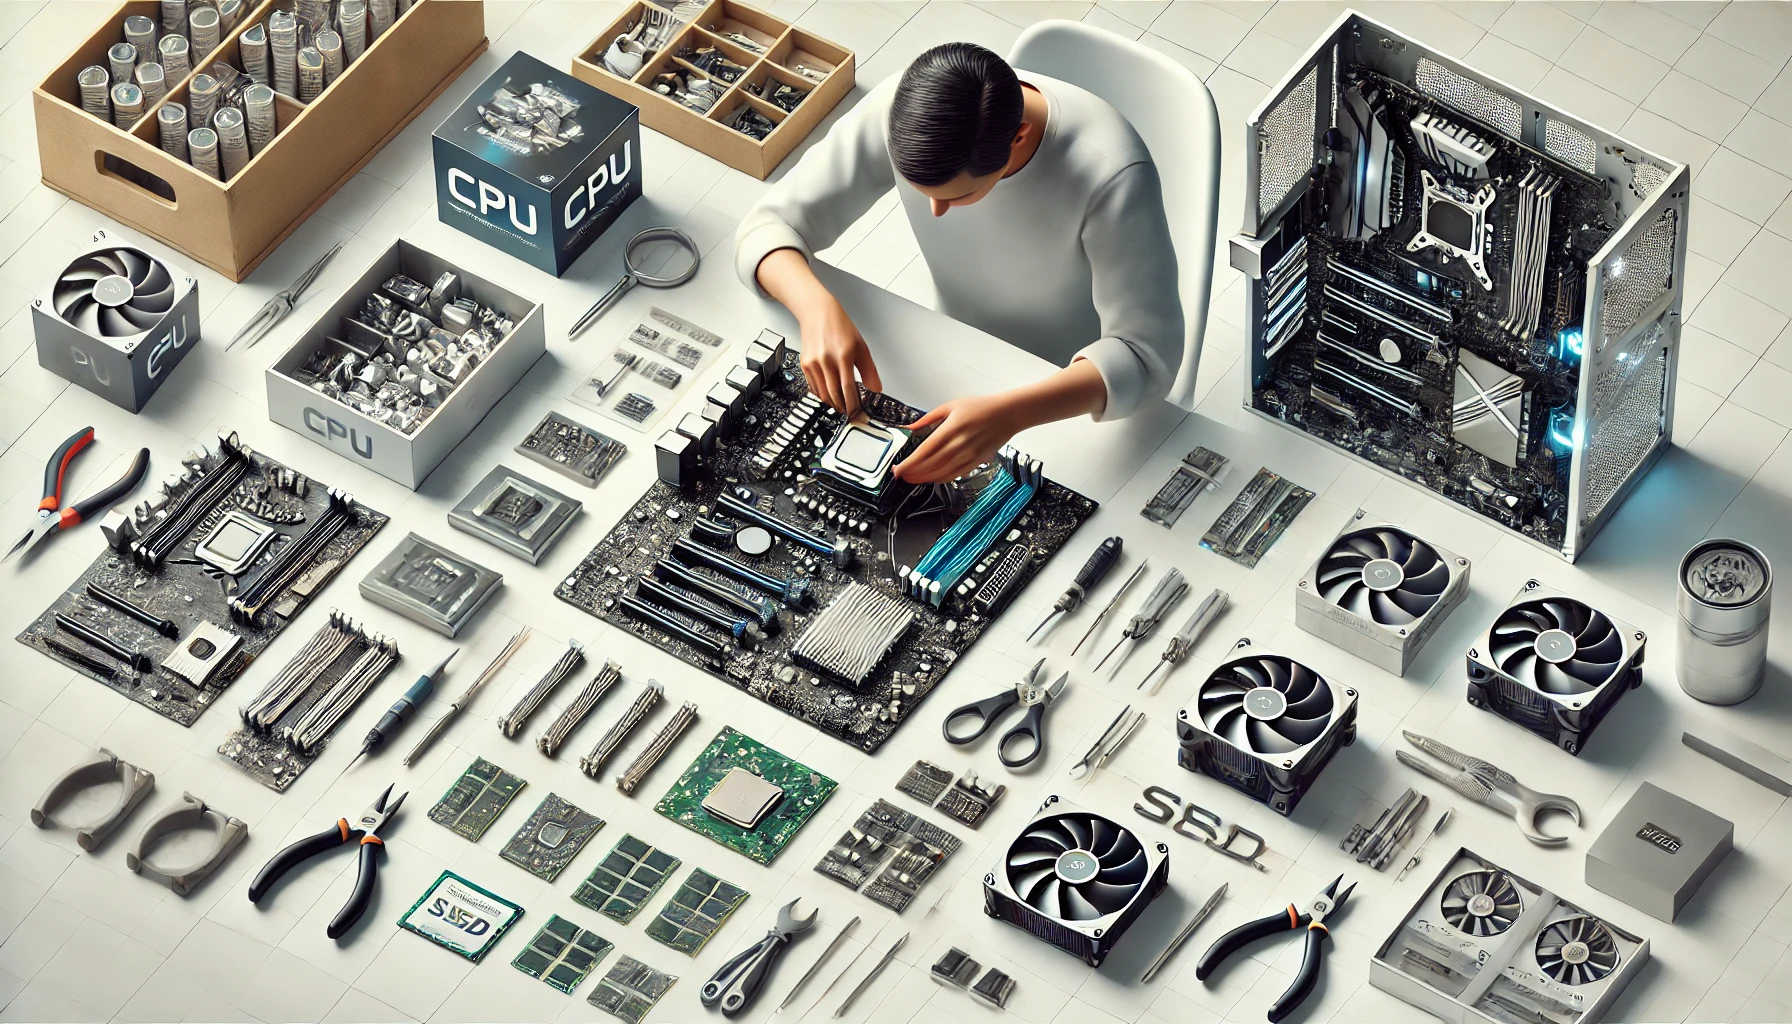
Lay out all your components and tools in an organized manner. Keep screws and small parts in separate containers to avoid losing them. Having everything within easy reach will streamline the assembly process.
Installing the CPU and Cooler
With your workspace prepared and components organized, it’s time to start the assembly process. The first step is installing the CPU and cooler onto the motherboard.
1. Installing the CPU
Open the CPU Socket: On the motherboard, locate the CPU socket and gently lift the retention arm or lever to open it.
Align the CPU: Carefully align the CPU with the socket. Look for the alignment markers (a small triangle or notch) on both the CPU and the socket.
Insert the CPU: Gently lower the CPU into the socket, ensuring it’s correctly seated. Avoid applying excessive force.
Secure the CPU: Lower the retention arm or lever to secure the CPU in place.
2. Applying Thermal Paste
If your CPU cooler doesn’t come with pre-applied thermal paste, you’ll need to apply a small amount to the CPU.
Apply a Small Amount: Place a small pea-sized amount of thermal paste in the center of the CPU.
Spread Evenly: When you install the cooler, the thermal paste will spread evenly, filling any gaps and ensuring efficient heat transfer.
3. Installing the CPU Cooler
The installation method for the CPU cooler can vary depending on the type and manufacturer. Here are the general steps:
Attach the Cooler: Place the cooler onto the CPU, aligning it with the mounting brackets on the motherboard.
Secure the Cooler: Use the provided screws or clips to secure the cooler in place. Be careful not to overtighten.
Connect the Fan: Connect the cooler’s fan to the appropriate header on the motherboard (usually labeled CPU_FAN).
Mounting the Motherboard
With the CPU and cooler installed, the next step is to mount the motherboard inside the case. This process requires careful handling to avoid damaging the motherboard and ensuring all components fit correctly.
1. Preparing the Case
Before mounting the motherboard, you need to prepare the case:
Install Standoffs: Most cases come with pre-installed standoffs, but if not, you’ll need to install them yourself. These are small metal or plastic spacers that create a gap between the motherboard and the case, preventing electrical shorts.
Check I/O Shield: Install the I/O shield, a metal plate that fits into the back of the case. This aligns with the ports on the motherboard and should be pressed into place from inside the case.
2. Mounting the Motherboard
Align the Motherboard: Carefully place the motherboard into the case, aligning it with the standoffs and the I/O shield. Ensure that all the ports fit snugly into the I/O shield.
Secure the Motherboard: Use screws to secure the motherboard to the standoffs. Tighten the screws just enough to hold the motherboard in place without overtightening, which could cause damage.
Installing RAM and Storage Drives
Next, you'll install the RAM and storage drives. These components are crucial for your system’s performance and storage capacity.
1. Installing RAM
Locate RAM Slots: Identify the RAM slots on the motherboard. These are usually near the CPU socket.
Open the Slots: Push down on the tabs at either end of the slots to open them.
Insert RAM Modules: Align the notch on the RAM module with the ridge in the slot. Insert the RAM at a slight angle, then push down firmly until the tabs click back into place, securing the module.
2. Installing Storage Drives
M.2 SSDs
Locate M.2 Slot: Find the M.2 slot on the motherboard, usually located near the PCIe slots.
Insert the M.2 SSD: Align the notch on the M.2 SSD with the slot and insert it at an angle. Push down and secure it with a screw.
SATA SSDs and HDDs
Mount the Drives: Use the drive bays or mounting brackets in your case to secure the drives. Some cases use tool-less mounting systems, while others require screws.
Connect Power and Data Cables: Connect one end of a SATA cable to the drive and the other end to a SATA port on the motherboard. Then, connect a SATA power cable from the power supply to the drive.
Connecting the Power Supply
The power supply (PSU) provides power to all components, and its installation is crucial for your PC’s operation.
1. Positioning the PSU
Mount the PSU: Place the PSU in its designated spot in the case, usually at the bottom or top rear. Secure it with screws.
2. Connecting Power Cables
24-Pin ATX Connector: This is the main power cable that connects to the motherboard. Find the 24-pin power port on the motherboard and connect the cable.
8-Pin CPU Connector: This cable provides power to the CPU. Connect it to the 8-pin (or 4+4-pin) power port near the CPU socket.
PCIe Power Connectors: If you have a dedicated graphics card, connect the necessary PCIe power cables (6-pin, 8-pin, or both) from the PSU to the card.
SATA and Peripheral Power Connectors: Connect these to your storage drives and any other peripherals that require power, such as case fans or RGB controllers.
Installing the Graphics Card
If you're using a dedicated graphics card, installing it properly is essential for optimal performance.
1. Preparing the PCIe Slot
Locate the PCIe Slot: Identify the PCIe x16 slot on the motherboard, usually the largest slot near the CPU.
Remove Slot Covers: Remove the expansion slot covers on the case’s back panel that correspond to the PCIe slot you’ll use.
2. Installing the Graphics Card
Insert the Card: Align the graphics card with the PCIe slot and gently insert it until it clicks into place. Ensure the card’s bracket aligns with the expansion slots on the case.
Secure the Card: Use screws to secure the card’s bracket to the case. This ensures the card stays firmly in place.
Connect Power Cables: If the graphics card requires additional power, connect the necessary PCIe power cables from the PSU.
Connecting Peripherals and Cables
With the main components installed, the next step is to connect peripherals and organize cables for optimal airflow and aesthetics.
1. Connecting Front Panel Connectors
Power Button, Reset Button, and LEDs: These small connectors from the case need to be connected to the corresponding pins on the motherboard. Refer to the motherboard’s manual for the exact layout.
2. Connecting Case Fans
Fan Headers: Connect case fans to the appropriate headers on the motherboard (usually labeled CHA_FAN or SYS_FAN). If you have more fans than headers, consider using a fan hub or splitter.
3. Connecting USB and Audio Cables
USB Headers: Connect the case’s USB ports to the appropriate headers on the motherboard (USB 2.0, USB 3.0).
Audio Header: Connect the front panel audio connector to the corresponding header on the motherboard.
Cable Management
Good cable management improves airflow and makes your build look clean and professional.
1. Routing Cables
Behind the Motherboard Tray: Route as many cables as possible behind the motherboard tray to keep the main compartment tidy.
Cable Cutouts: Use the cutouts in the case to route cables cleanly and efficiently.
2. Securing Cables
Cable Ties: Use cable ties to bundle and secure cables, keeping them organized and out of the way.
Velcro Straps: For larger cable bundles, use Velcro straps for easy adjustments.
Completing the Build and Powering On
With all components installed and connected, it’s time to complete the build and power on your new PC.
1. Final Checks
Double-Check Connections: Ensure all components are securely installed and all cables are properly connected.
Close the Case: Carefully attach the side panels and secure them with screws.
2. Powering On
Connect the Power Cable: Plug the power cable into the PSU and the wall outlet.
Turn On the PSU: Flip the switch on the back of the PSU to the on position.
Power On the PC: Press the power button on the case. If everything is connected correctly, your PC should power on, and you should see the BIOS screen.
Configuring the BIOS and Installing the Operating System
The final step is configuring the BIOS and installing the operating system.
1. Entering the BIOS
Access the BIOS: Press the designated key (usually DEL or F2) during the initial boot to enter the BIOS setup utility.
2. Configuring BIOS Settings
Boot Order: Set the boot order to prioritize your installation media (USB drive or DVD) first.
RAM Settings: Ensure the RAM is running at its rated speed. You might need to enable XMP (Intel) or DOCP (AMD) profiles.
Storage Configuration: Confirm that all storage devices are recognized and configured correctly.
3. Installing the Operating System
Insert Installation Media: Insert your installation media (USB drive or DVD) and reboot the PC.
Follow Installation Prompts: Follow the on-screen instructions to install your preferred operating system, such as Windows or a Linux distribution.
Install Drivers: Once the OS is installed, download and install the latest drivers for your components from the manufacturer’s websites.
Testing and Troubleshooting
With your PC fully assembled and powered on, the next crucial step is to test and troubleshoot any potential issues. This ensures that your system is functioning correctly and is ready for use.
1. Initial Boot
BIOS Screen: Upon powering on your PC, you should see the BIOS screen. If the PC doesn't boot, double-check all connections and ensure all components are properly seated.
POST (Power-On Self-Test): The system should perform a POST, where it checks the basic hardware components. If there are any errors, the BIOS will display error codes or beep sequences. Refer to the motherboard manual for interpreting these codes.
2. Common Issues and Fixes
No Power: Ensure the PSU is switched on, and all power cables are connected securely. Check the power button connection to the motherboard.
No Display: Verify the monitor is connected to the correct output (GPU or motherboard). Re-seat the GPU and RAM modules.
Boot Loop: Clear the CMOS by removing and reinserting the CMOS battery or using the motherboard's clear CMOS jumper.
Optimizing Performance and Final Setup
Once your PC successfully boots and the operating system is installed, you can proceed with optimizing performance and completing the final setup.
1. Installing Drivers
Motherboard Drivers: Install chipset, audio, and network drivers from the motherboard manufacturer’s website.
GPU Drivers: Download and install the latest graphics drivers from NVIDIA or AMD's website.
Peripheral Drivers: Install drivers for peripherals such as printers, keyboards, and mice.
2. Windows Updates and System Settings
Windows Updates: Ensure your operating system is up-to-date by installing the latest Windows updates.
System Settings: Customize settings like display resolution, power options, and default applications to suit your preferences.
3. Overclocking (Optional)
For enthusiasts looking to squeeze extra performance from their components, overclocking can be an option.
CPU Overclocking: Access the BIOS and adjust the CPU multiplier and voltage settings. Increase gradually and test stability using stress-testing software.
GPU Overclocking: Use software like MSI Afterburner to increase the GPU clock speed and memory clock. Monitor temperatures and stability during benchmarking.
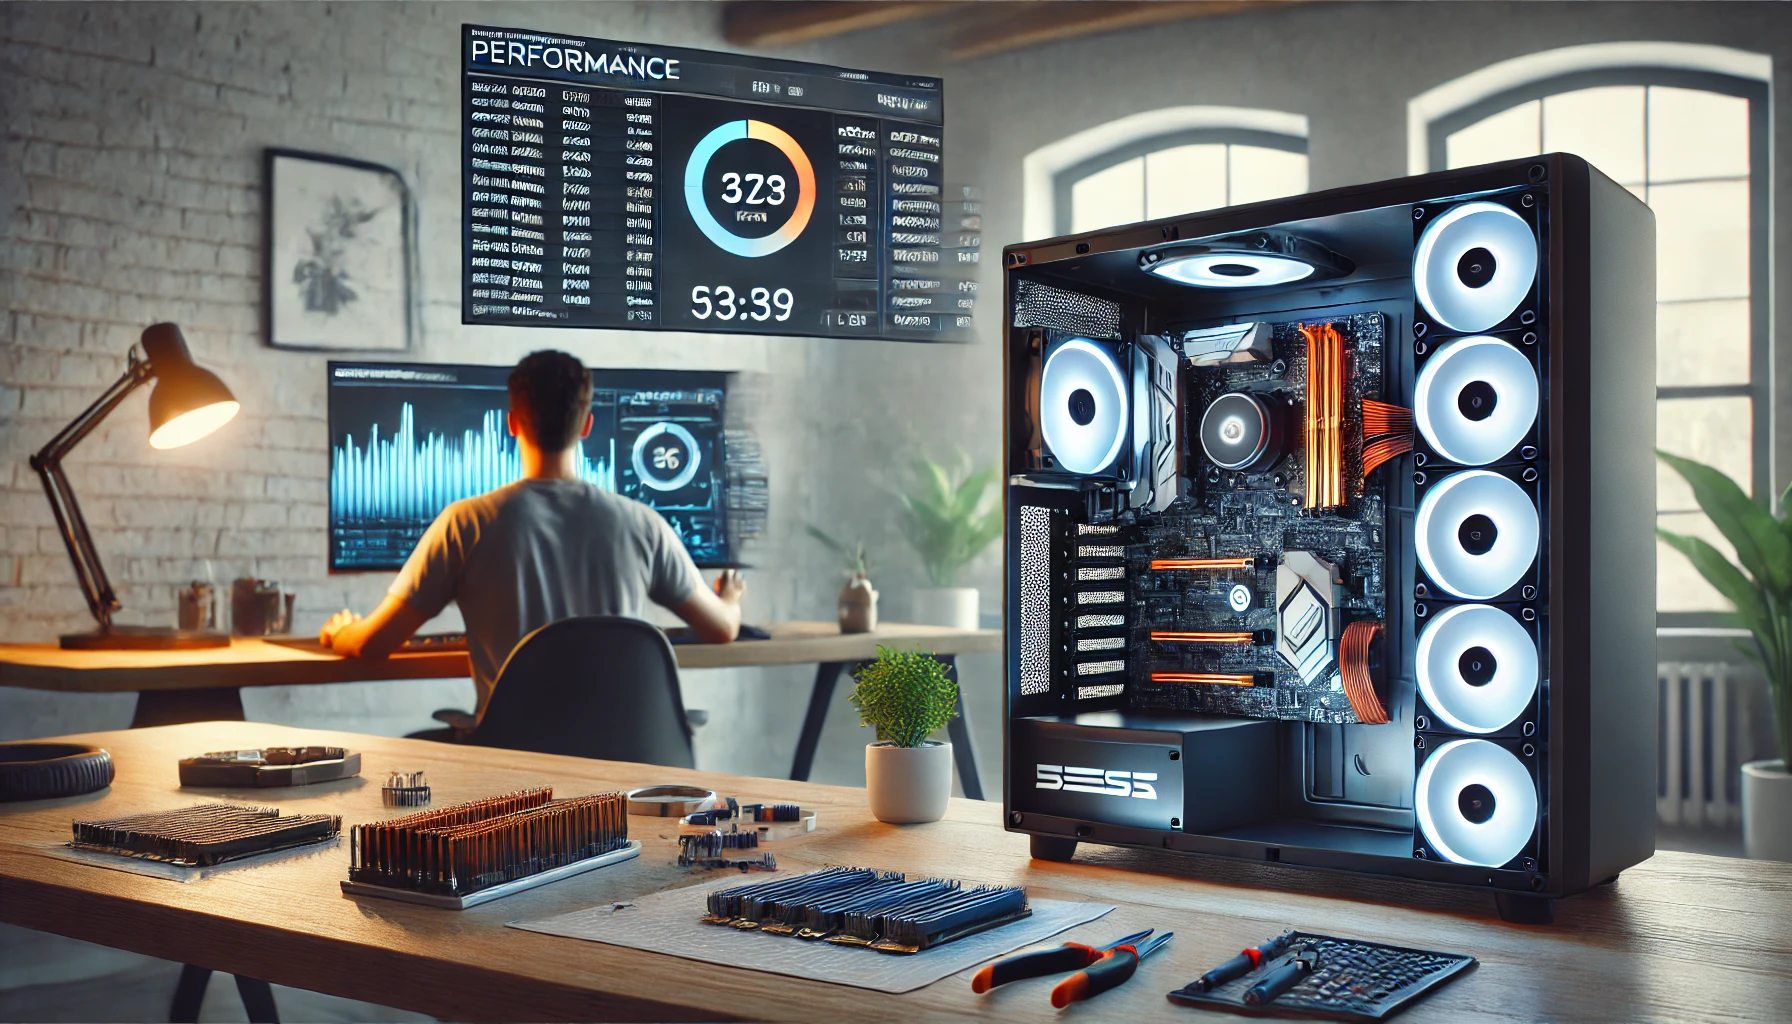
4. Benchmarking and Stress Testing
Benchmarking Software: Use software like 3DMark, Cinebench, and CrystalDiskMark to benchmark your system’s performance.
Stress Testing: Run stress tests using programs like Prime95 (for CPU) and FurMark (for GPU) to ensure stability and check for overheating.
Tips for Maintaining Your PC
Proper maintenance ensures your PC runs smoothly and extends its lifespan. Here are some tips for maintaining your new build:
1. Regular Cleaning
Dust Removal: Use compressed air to regularly clean dust from fans, heatsinks, and other components. Dust buildup can cause overheating and reduce performance.
Cable Management: Periodically check and tidy up cables to ensure good airflow and prevent tangling.
2. Software Maintenance
Updates: Keep your operating system, drivers, and applications up-to-date to benefit from the latest features and security patches.
Antivirus and Security: Install and regularly update antivirus software to protect your system from malware and viruses.
3. Monitoring System Health
Temperature Monitoring: Use software like HWMonitor or Core Temp to keep an eye on CPU and GPU temperatures. High temperatures can indicate cooling issues.
Performance Monitoring: Use Task Manager or Resource Monitor to check for any unusual activity that might indicate hardware or software problems.
Future Upgrades
Building a PC also offers the flexibility to upgrade components as needed. Here are some common upgrades you might consider in the future:
1. RAM
Increasing your RAM can improve multitasking and performance in memory-intensive applications. Ensure compatibility with your motherboard and existing RAM modules.
2. Storage
SSD Upgrades: Adding or upgrading to a larger or faster SSD can significantly boost load times and overall system responsiveness.
Additional Drives: Consider adding more storage drives for backups, games, or media files.
3. Graphics Card
Upgrading your GPU can enhance gaming performance and enable higher resolution and settings. Ensure your PSU can handle the increased power requirements.
4. Cooling Solutions
Additional Fans: Adding more case fans can improve airflow and cooling efficiency.
Liquid Cooling: Upgrading to a liquid cooling solution can offer better cooling performance and quieter operation compared to air coolers.
Final Thoughts
Building your own PC is a highly rewarding experience that offers a deep understanding of computer hardware and the satisfaction of creating a machine tailored to your specific needs. Here are some final thoughts to consider:
1. Take Your Time
Patience is key when building a PC. Rushing can lead to mistakes or damaged components. Take your time to carefully follow each step and ensure everything is properly installed.
2. Seek Help When Needed
Don't hesitate to seek help from online resources, forums, or experienced builders if you encounter any challenges. The PC building community is generally very supportive and willing to assist.
3. Enjoy the Process
Building a PC is not just about the end result; it's also about enjoying the process. Take pride in your work, and don’t be afraid to experiment and learn along the way.
Conclusion
In this final section, we covered the importance of testing and troubleshooting your new PC, optimizing performance, and maintaining your system for longevity. Building your own PC is a journey that combines technical skill with creativity, and with the knowledge from this guide, you're well-equipped to embark on this adventure. By following these detailed steps and tips, you’ll not only build a functional and powerful PC but also gain valuable insights and skills that will serve you well in future projects. Happy building!

